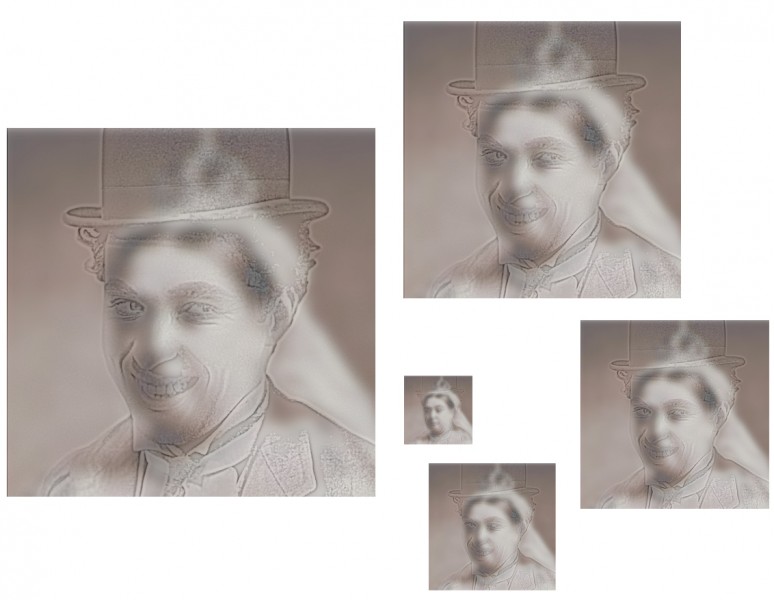
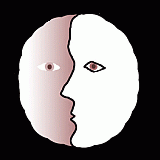
Hybrid portraits superimpose one portrait on top of another, so that one appears with close viewing, and the other emerges with more distant viewing. Or with reduced image size. Or just by taking off your specs, if you are just a little way away and are seriously short-sighted. Whatever works for you, here Charlie Chaplin becomes Queen Victoria. The “top” image is filtered to reduce it so that it resembles an outline drawing, and then made partially transparent (and some viewers might need reading glasses to see it). The ‘back” image is blurred (and may only become apparent when viewed from two or more meters).
The technique was invented by Aude Oliva, Antonio Torralba and Philippe G. Schyns, and presented in 2006 at the huge annual Siggraph (electronic graphics) conference. Putting it technically, Charlie here appears with all but his high spatial frequencies filtered out, whilst her late Majesty has had all but her low spatial frequencies filtered away.
But don’t be deterred by the jargon. If you’d like to try your own hybrid portraits, you can do the filtering very easily if you have a full version of Photoshop to play with, (so long as you’ve got the hang of working with layers). This is how it works in Photoshop CS2 for Mac. For the high spatial frequency (outlines) image, with an image file open and the image you want to filter selected, go to filter in the menus at the top of the screen, select other.. (at the very bottom of the list of options) and then high pass.. Then play around! You’ll see how you can transform the image with a slider. For the low spatial frequency (blurry) image, start in a new layer, and once again with the image to filter selected, go to filter again, but this time select blur, and then in the options that open up Gaussian Blur. Once again, then just play around with the slider to explore effects. Then you need to make the top image transparent. Make sure the Layers window is visible (click on layers in the Windows menu at the top of the screen if not). Next make sure the layer holding the top image is selected. Now you can adjust the transparency (they call it opacity) at top right in the layers window.
That’s the easy bit. Once the image pair are more or less presenting the effect OK, adjusting the degree of filtering of the images, their contrast, and then the transparency of the ‘top’ image to find the demon tweak that gives maximum effect will drive you crazy! There is a colossal range of possible combinations.
For some great movies of the effect, try this (MIT) site.

